
How it works
The Oracle Cloud Infrastructure (OCI) Storage connector pulls in all documents from the specified OCI bucket. It supports various file formats including PDF, DOC, DOCX, TXT, and more. Documents are updated every 1 day.Setting up
Setup runs through four steps, shown in the left rail of the connector page: Credential, Connector, Space, and Advanced. Before you connect in the Admin panel, create OCI customer secret keys and note your namespace and region (see Authorization below).Authorization
Create OCI credentials in the Oracle Cloud Console before connecting in UtopikAI.- Log into your Oracle Cloud Console.
- Click on the user icon in the top-right corner and select User Settings.

- Under Resources, click on Customer Secret Keys.
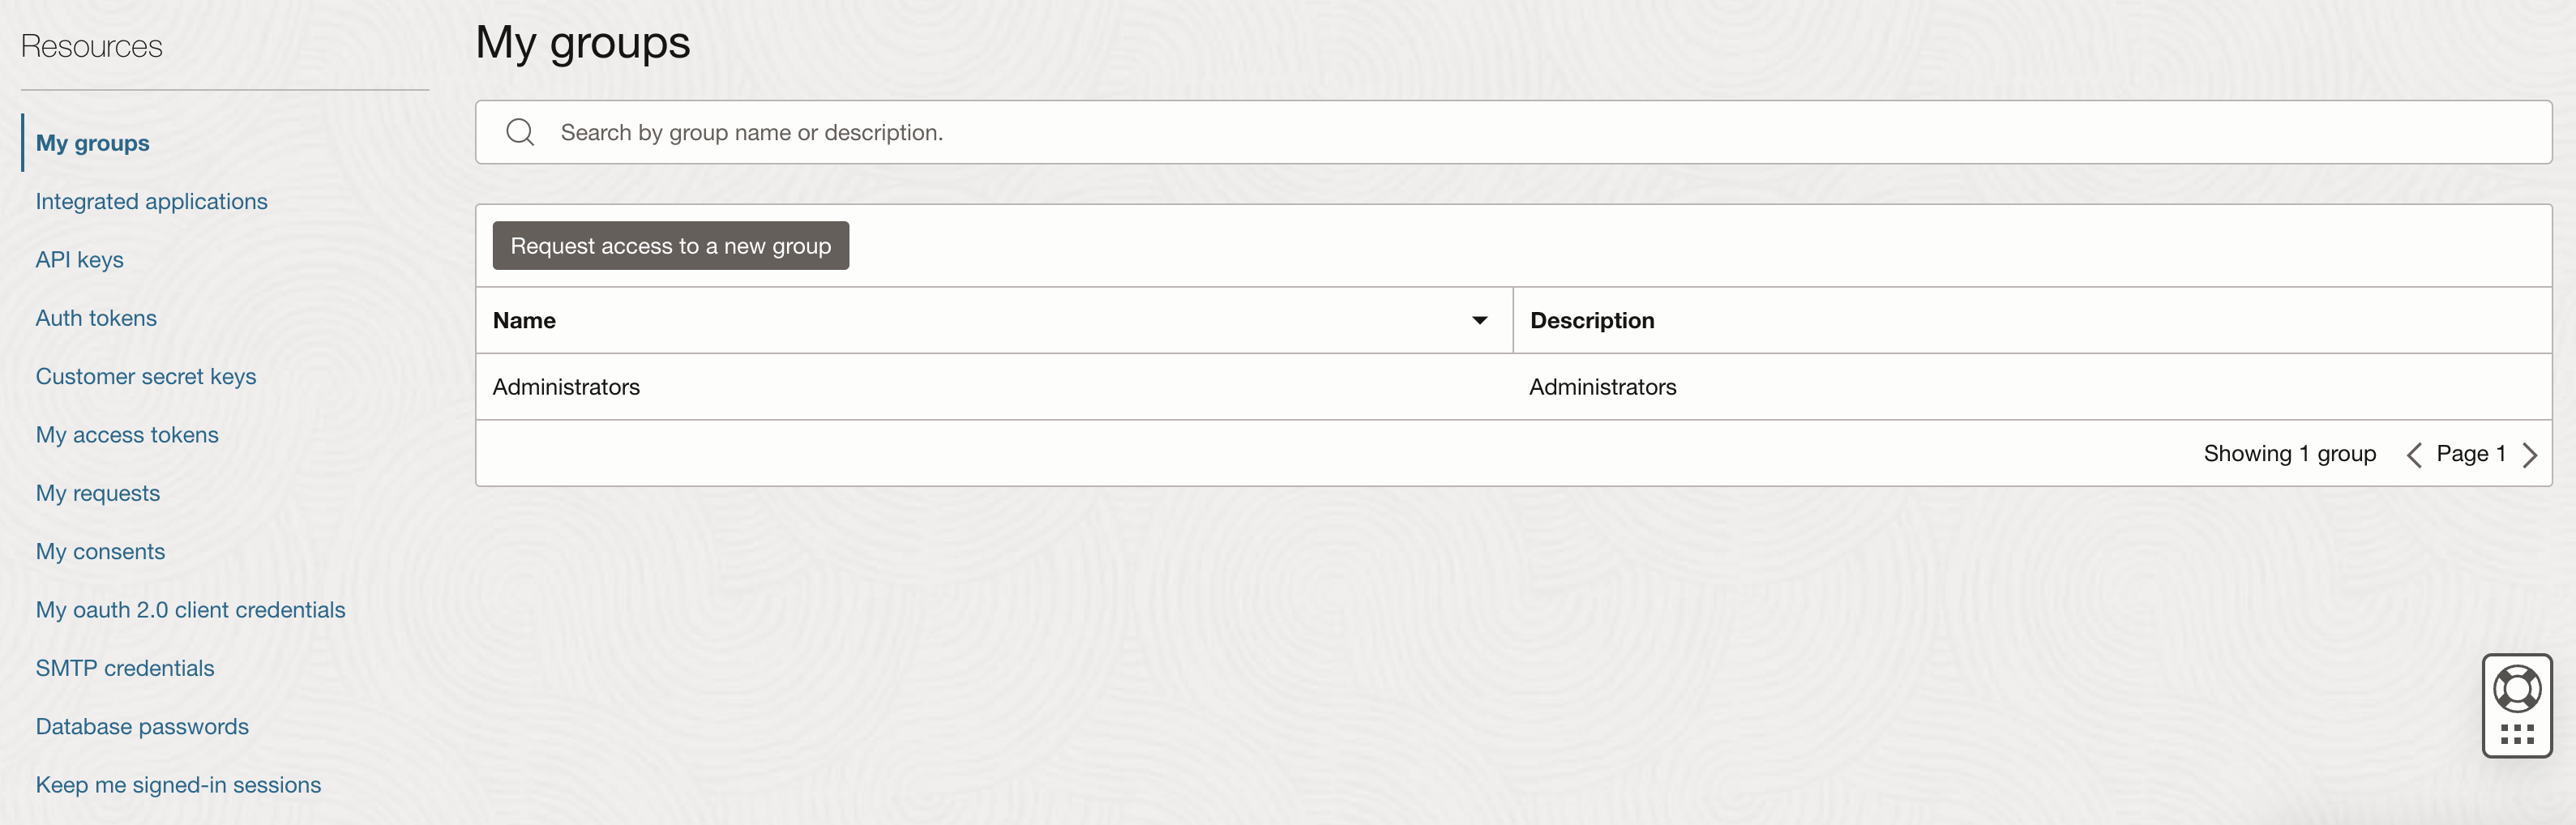
- Click Generate Secret Key.
-
Enter a friendly name for your key (for example
UtopikAIOCIConnector). - Click Generate Secret Key.
- Copy the Secret Key immediately — you will not be able to retrieve it later.
- You should now see the Customer Secret Keys page with a list of keys, including the one you just generated. The corresponding access key should be present.
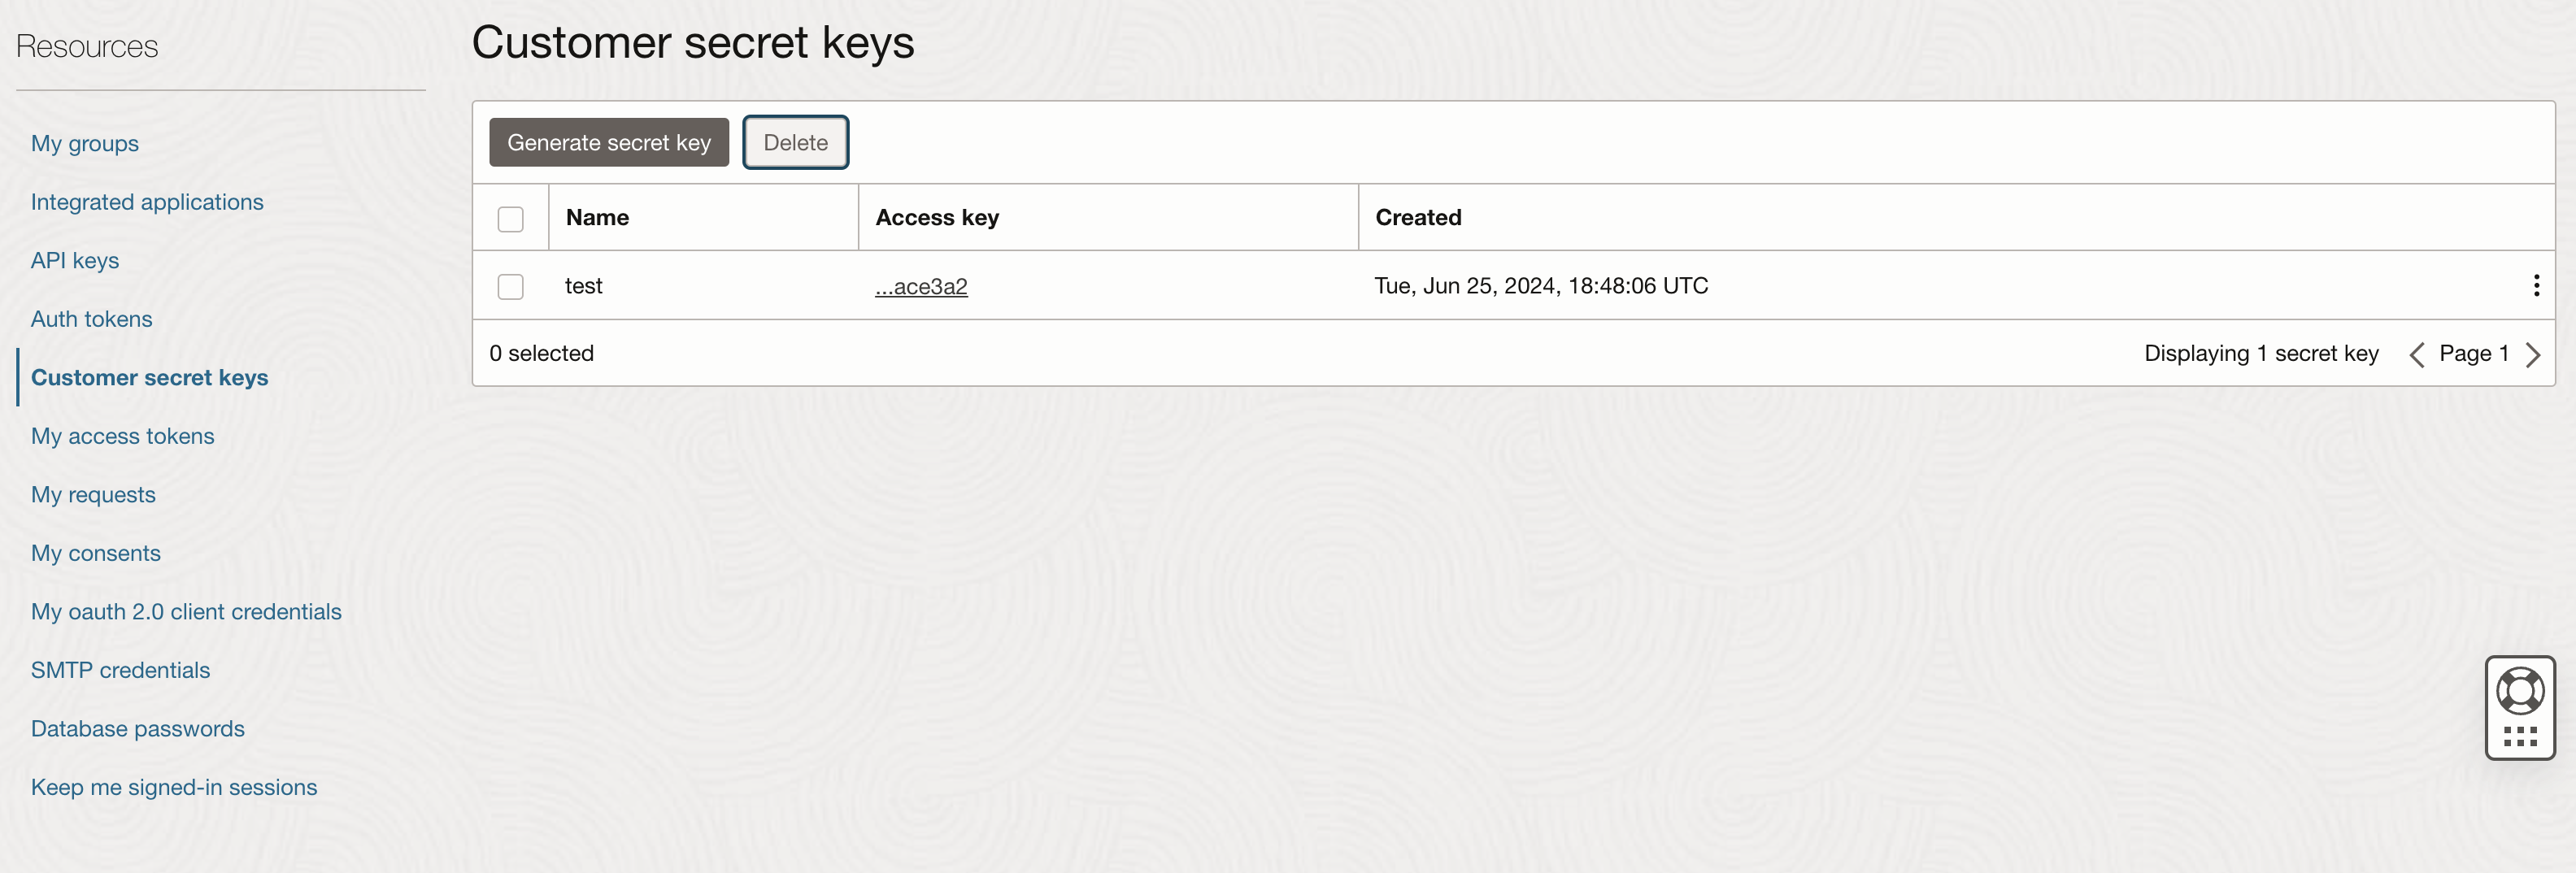
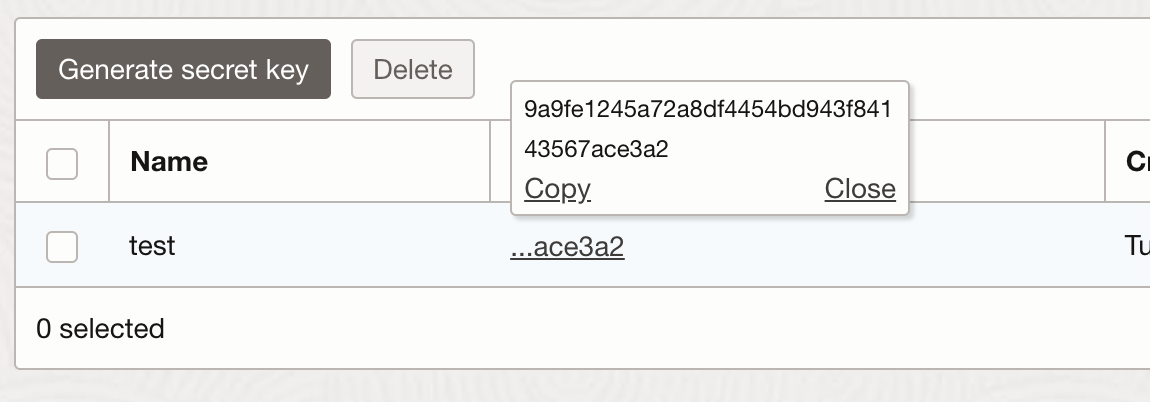
- To find your tenancy’s Object Storage namespace, click on the user icon in the top-right corner and select Tenancy: [your tenancy name].
- In the tenancy details, find the Object Storage namespace.
Step 1: Select Credential
- Open Admin from the profile menu, then go to Connectors → Add Connector.
- Under Storage, select Oracle Storage.
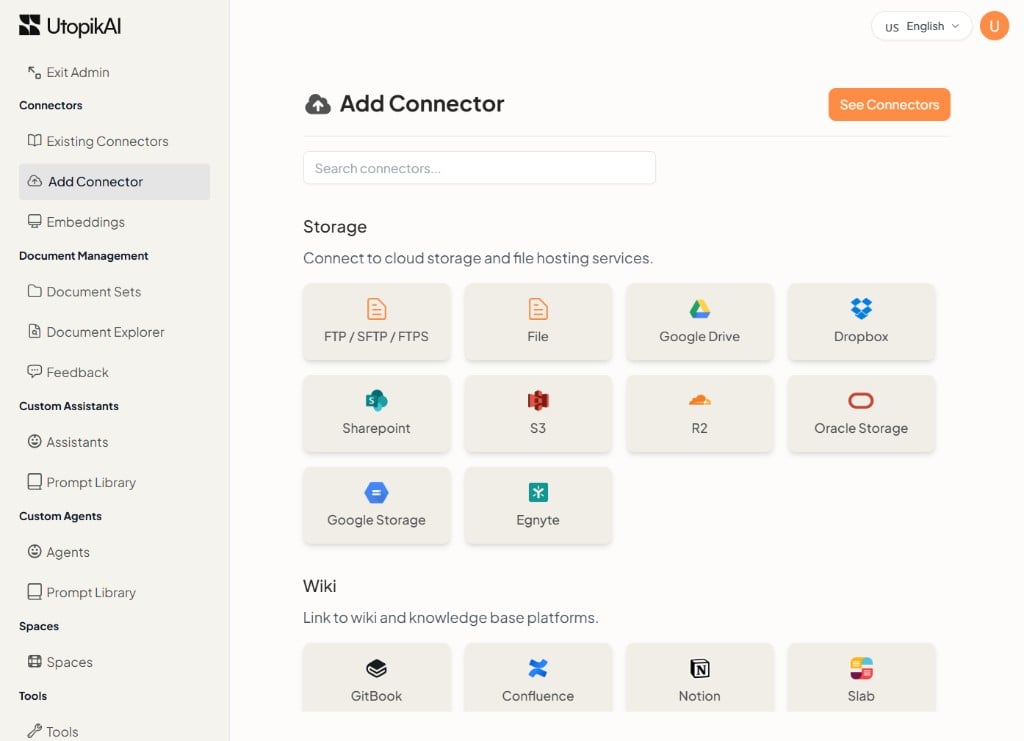
- In Step 1, select an existing credential from the list, or click Create New to add one.
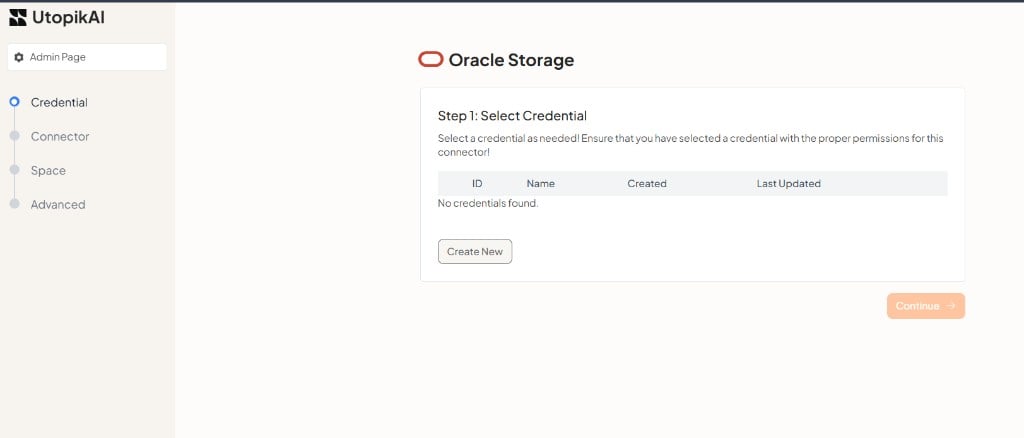
Ensure the credential you select has read access to the OCI bucket you plan to index. A credential without the required bucket permissions cannot index its contents.
Create a credential
Clicking Create New opens the Create Oracle Storage Credential modal: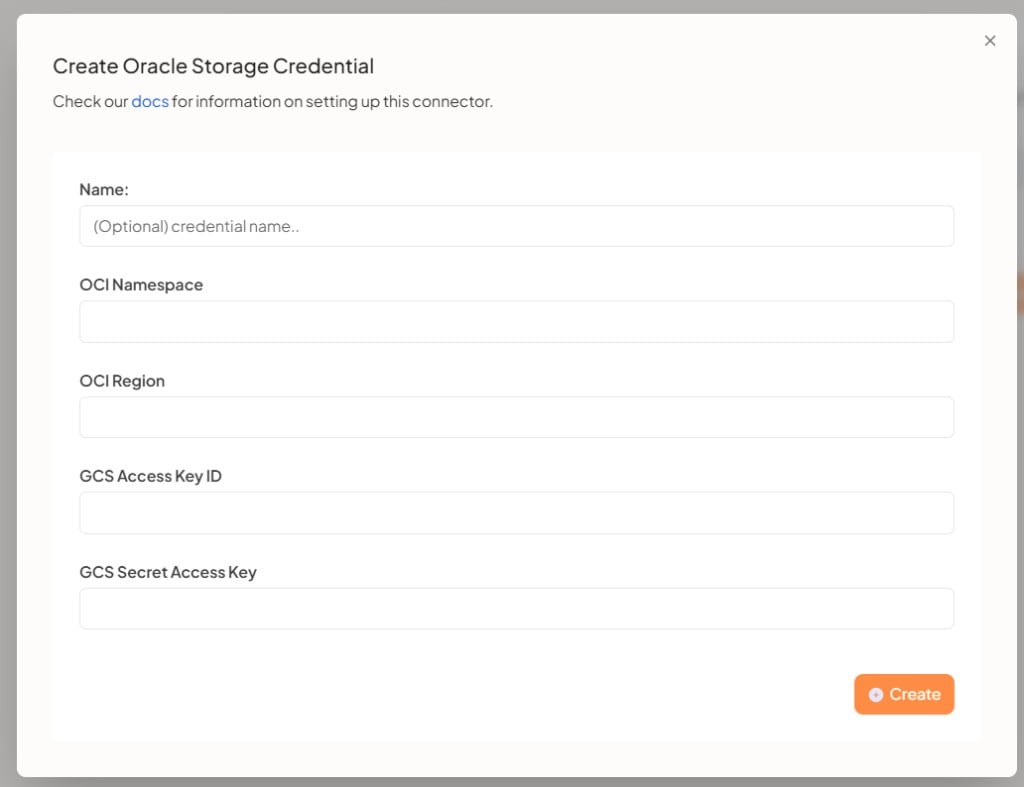
- Enter an optional Name to label the credential (for example
Production OCI). - Enter your OCI Namespace and OCI Region.
- Enter your OCI access key in GCS Access Key ID and your OCI secret key in GCS Secret Access Key. (The Admin panel uses these field labels; map them to the access key and secret key from the OCI Customer Secret Keys page.)
- Click + Create to save the credential.
Step 2: Configure the connector
- Confirm the Credential to use for this connector.
- Enter the Bucket Name you want to make searchable.
- Optionally enter a Path Prefix to limit indexing to a folder within the bucket.
- Click Continue.
Step 3: Select a space
Choose the space to index the documents from. This controls which space the connector’s indexed content belongs to. Use the search field to filter the list if you have many spaces, then click Continue.Step 4: Advanced Configuration
The final step controls how often UtopikAI syncs with OCI Object Storage and how far back it indexes. The defaults work for most setups.
Entering
0 or leaving Refresh Frequency blank means UtopikAI will never pull new documents for this connector.
Entering 0 or leaving Prune Frequency blank disables pruning for this connector. Pruning checks every document against the source, so lower values (more frequent pruning) increase load — raise the frequency with care on large buckets.
Use Reset to restore the default values.
When you are done, click Create Connector to save the connector and begin indexing your OCI files. You can return to any earlier step using the Previous button or the step list in the left rail.