
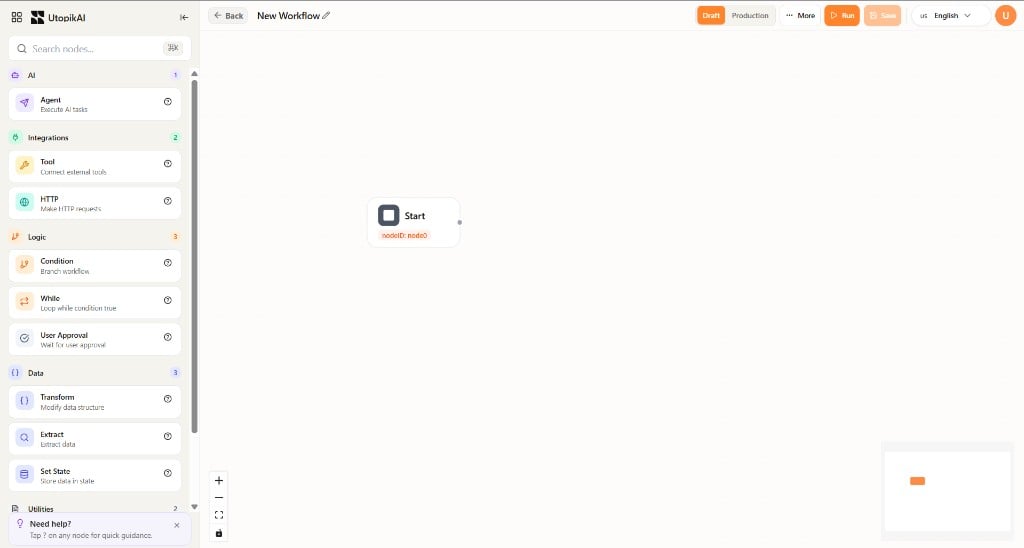
Start trigger type
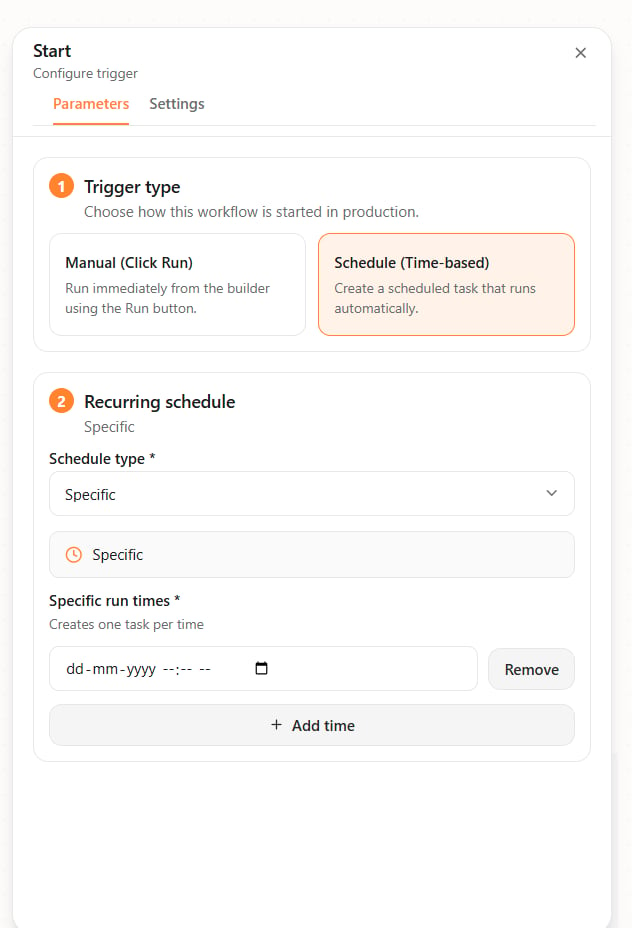
Select the Start node to open Start → Configure trigger. The Parameters tab has two numbered steps.1. Trigger type
Choose how this workflow is started in production: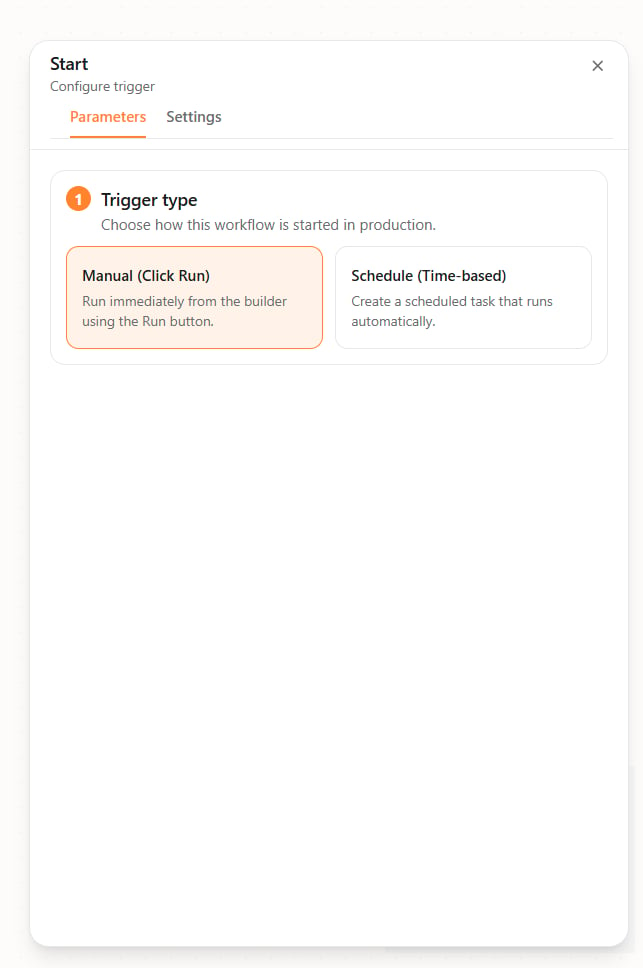
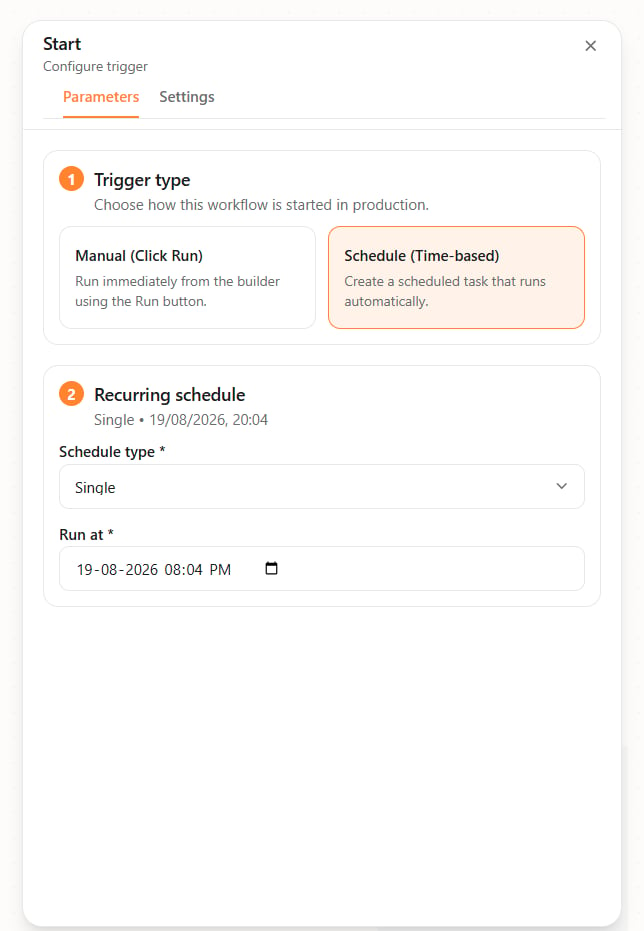
2. Recurring schedule
This step appears when Schedule (Time-based) is selected. Set Schedule type first.Single
One run at a chosen date and time.- Schedule type — Single
- Run at — Date and time
Recurring
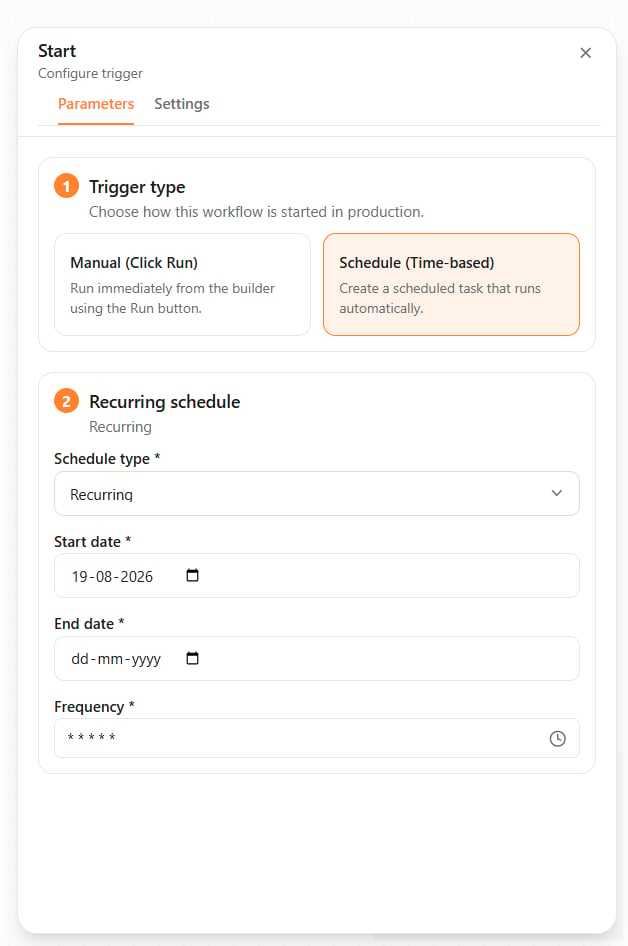
Repeats on a frequency between a start date and an optional end date.- Schedule type — Recurring
- Start date — First day the schedule is active
- End date — Optional last day
- Frequency — How often the workflow repeats
Specific
A list of exact run times. Add as many as you need.- Schedule type — Specific
- Specific run times — Date and time for each run
- + Add time — Add another run time
- Remove — Delete a run time
Top bar
- Back — Return to Your Workflows.
- Name — Edit the workflow name.
- Draft / Production — Draft is for building and testing. Production is the live version.
- More — Additional actions.
- Run — Execute the workflow.
- Save — Save your changes.
Node library
Search with Search nodes…. Nodes are grouped by category: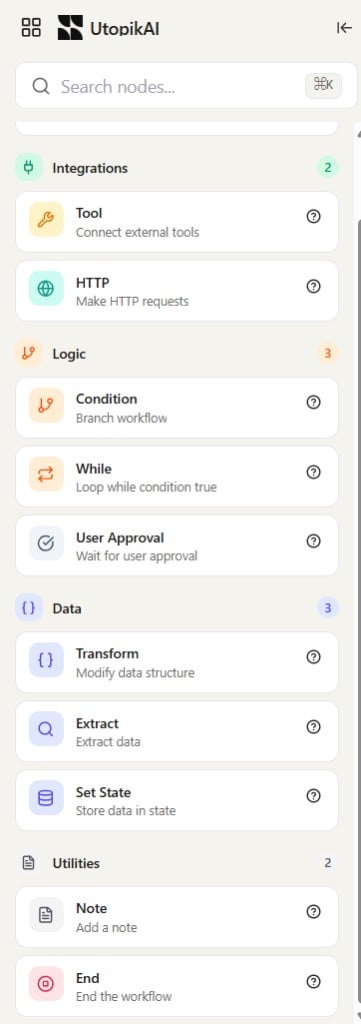
Canvas
- Connect the output of one node to the input of the next.
- Use zoom, fit-to-view, and lock in the lower left.
- A minimap in the lower right helps you move around larger flows.