Groups is only available for Workspace Admin.
What you can do
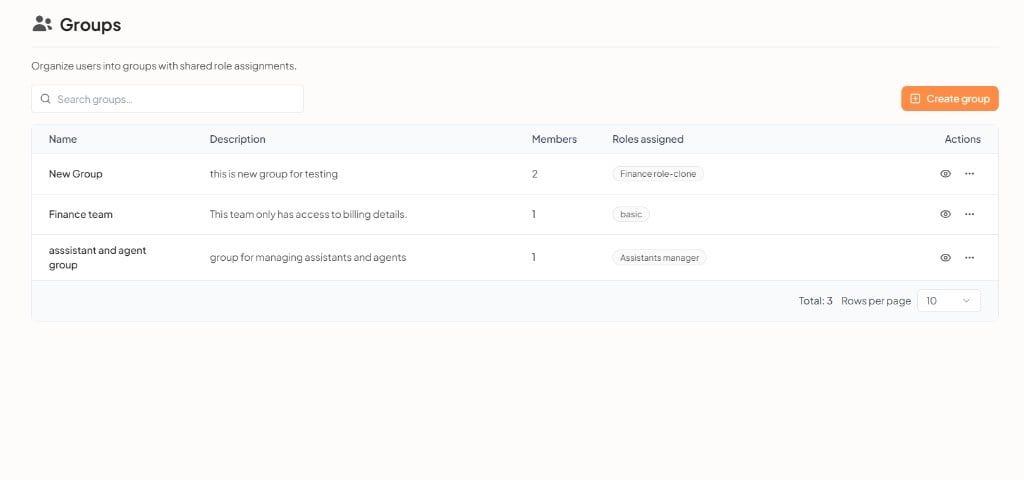
Groups table
The footer shows the total number of rows and the rows-per-page setting.
Use groups when several people should receive the same role, instead of assigning that role to each user one by one.
Create a group
Click Create group. The flow has three steps: Group Details, Assigned Roles, and Add members.1. Group Details
Set the group name and description, then Continue.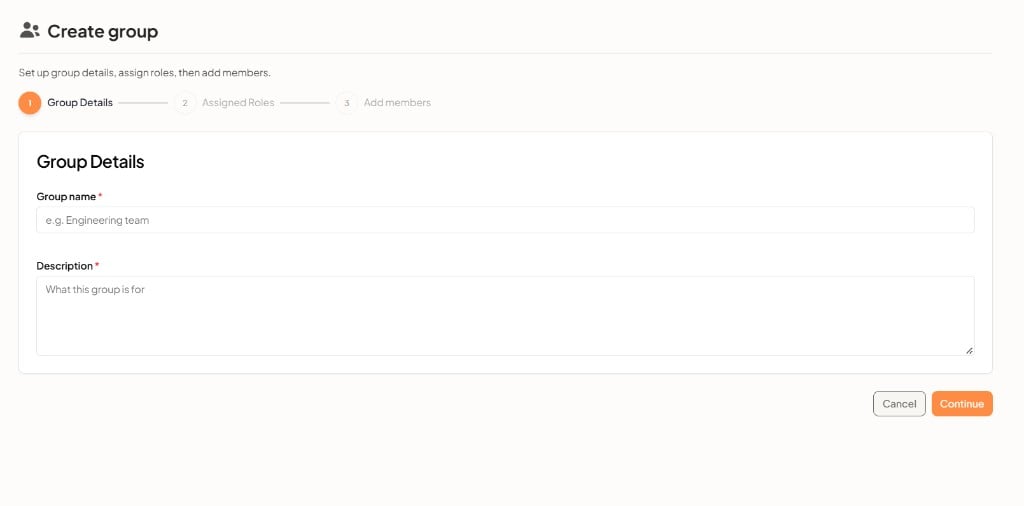
Click Cancel to close without creating a group.
2. Assigned Roles
Assign roles that members of this group inherit. If none are set yet, the empty state is No roles assigned yet.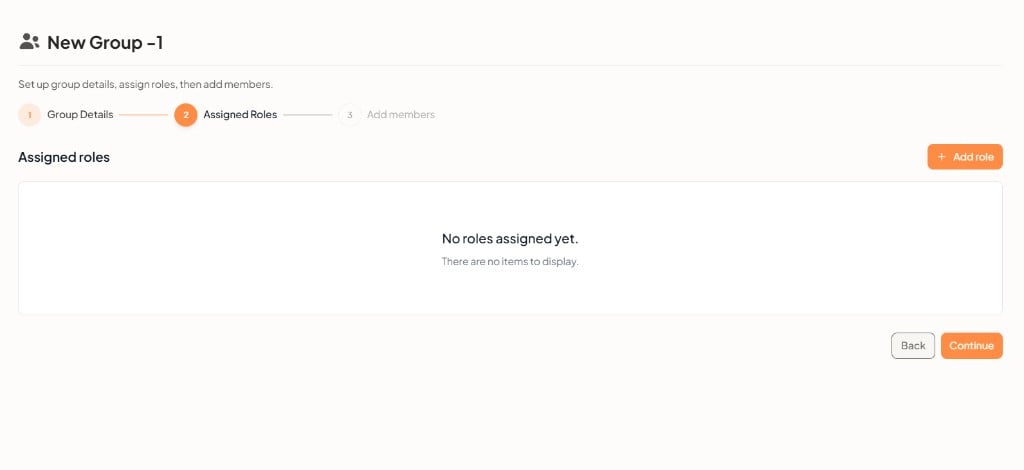
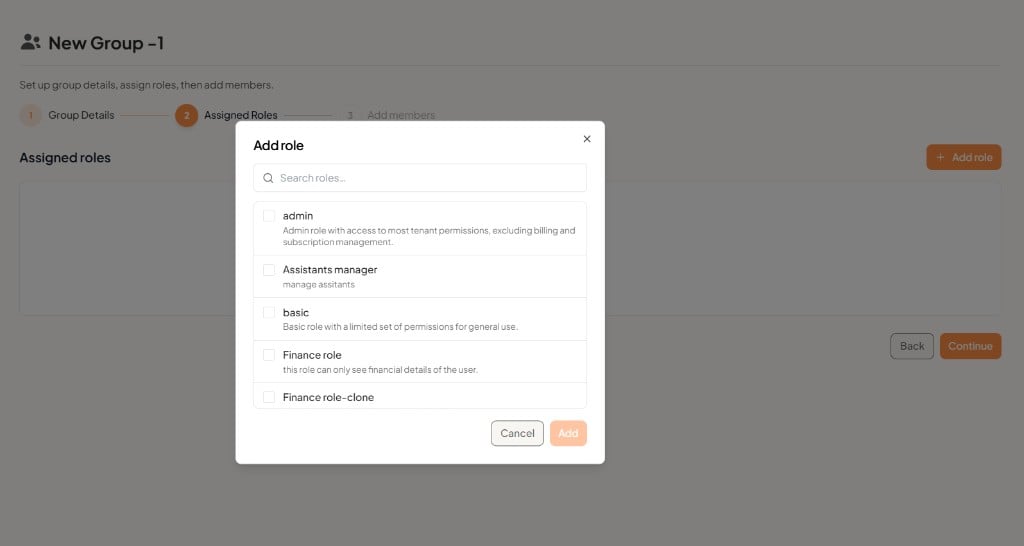
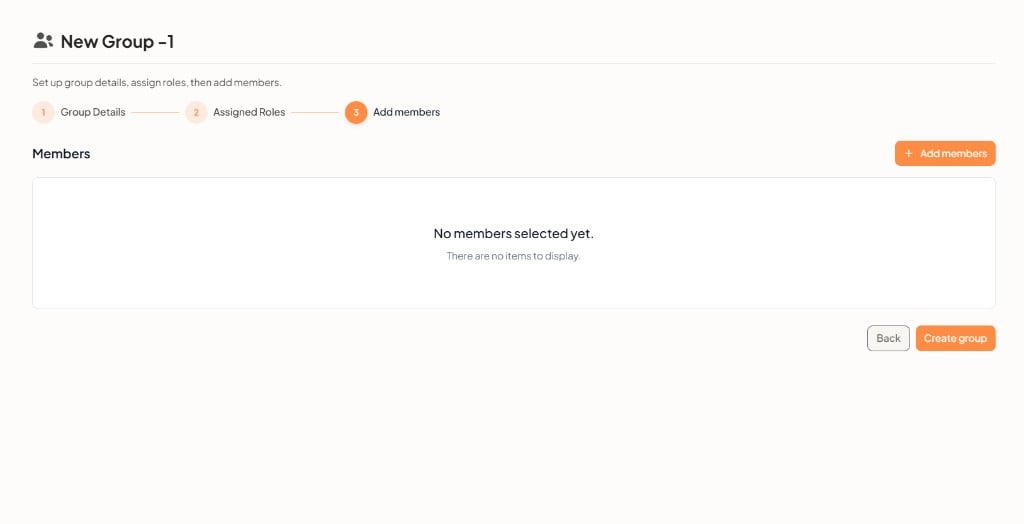
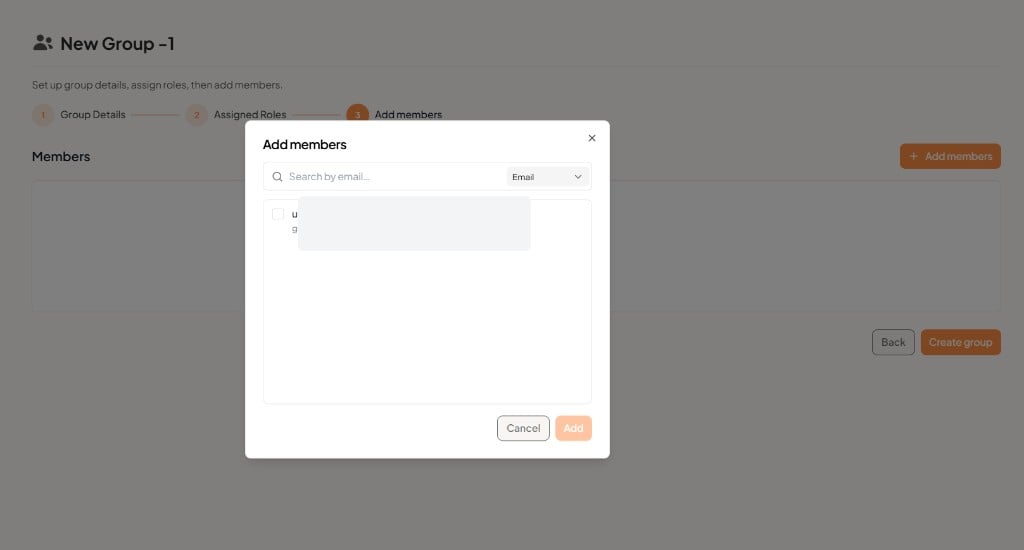
3. Add members
Add people to the group, then Create group. If none are selected yet, the empty state is No members selected yet.