> ## Documentation Index
> Fetch the complete documentation index at: https://docs.utopikai.com/llms.txt
> Use this file to discover all available pages before exploring further.
# 3D
> Create AI-generated 3D models in Studio
Open **Studio** → **3D**. The heading is **Transform your ideas into 3D models**.
Choose a generation model, then pick a mode:
* **Text to 3D** — Describe the model in a prompt.
* **Image to 3D** — Guide generation with reference images.
Use **Advanced Mode** and **Target space** if needed, then click **Generate**. Outputs appear under **My Creations**.
There is no separate public 3D catalog page. **Hyper3D Rodin** is the Studio 3D model in the current catalog.
## Text to 3D
1. Select the **Text to 3D** tab.
2. Choose a model (for example **Hyper3D Rodin**).
3. Enter a **Prompt** describing the 3D model.
4. Optionally add **Input Images** (up to 5). Adding images switches the job toward image-to-3D.
5. Set **Quality**, **Output Format**, **Material**, and **Mesh Mode** if shown.
6. Optionally enable **T/A Pose** for character-style models.
7. Click **Generate**.
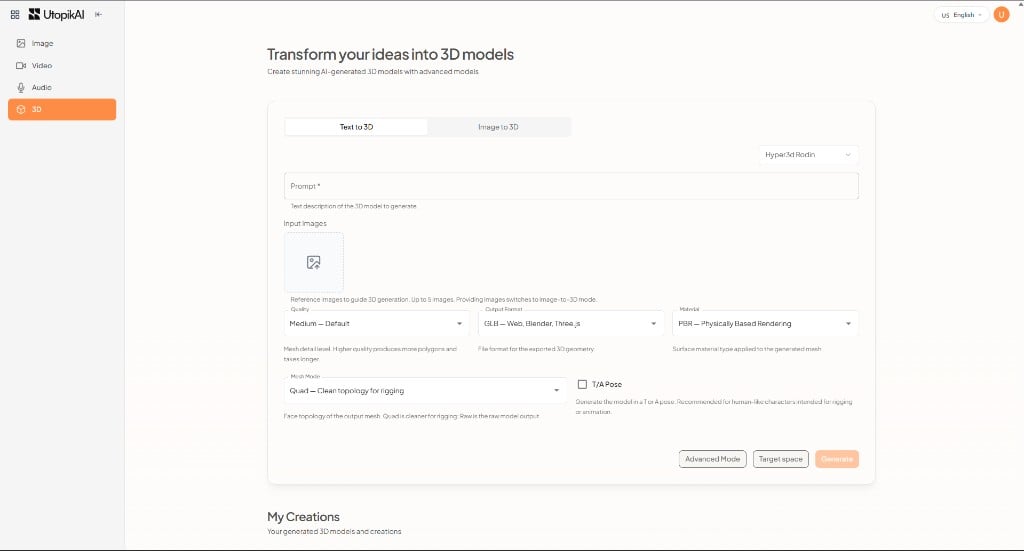 Available settings depend on the model. Examples:
| Setting | What it controls |
| ----------------- | ---------------------------------------------------- |
| **Quality** | Mesh detail level |
| **Output Format** | File format for the 3D geometry (for example GLB) |
| **Material** | Surface type (for example PBR) |
| **Mesh Mode** | Face topology (for example Quad for rigging, or Raw) |
## Image to 3D
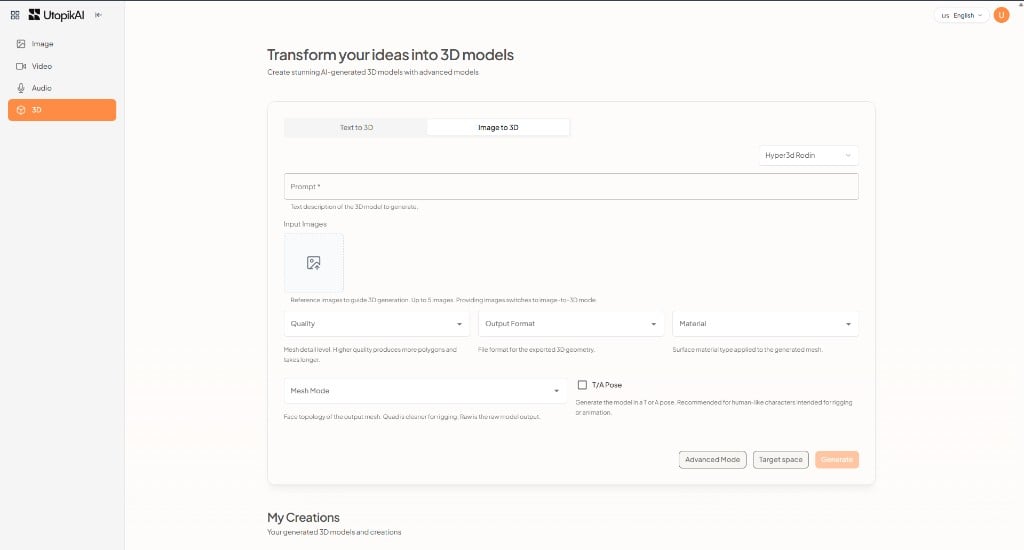
1. Select the **Image to 3D** tab.
2. Choose a model (for example **Hyper3D Rodin**).
3. Enter a **Prompt** if the model uses one.
4. Upload **Input Images** (up to 5).
5. Set quality, format, material, and mesh options as needed.
6. Click **Generate**.
Available settings depend on the model. Examples:
| Setting | What it controls |
| ----------------- | ---------------------------------------------------- |
| **Quality** | Mesh detail level |
| **Output Format** | File format for the 3D geometry (for example GLB) |
| **Material** | Surface type (for example PBR) |
| **Mesh Mode** | Face topology (for example Quad for rigging, or Raw) |
## Image to 3D
1. Select the **Image to 3D** tab.
2. Choose a model (for example **Hyper3D Rodin**).
3. Enter a **Prompt** if the model uses one.
4. Upload **Input Images** (up to 5).
5. Set quality, format, material, and mesh options as needed.
6. Click **Generate**.
 ## Related documentation
* [Studio Overview](/studio/overview)
* [Image](/studio/image)
* [Video](/studio/video)
* [Audio](/studio/audio)
## Related documentation
* [Studio Overview](/studio/overview)
* [Image](/studio/image)
* [Video](/studio/video)
* [Audio](/studio/audio)